Sailor Hat Origami

FOLD. CREATE. MAKE IT YOURS.

Sailor Hat Origami, step by step

Follow the six illustrated stages below. Prepare your paper, crease each fold firmly, then add the decorative details.

6 simple stepsFree PDF downloadsColour illustrations
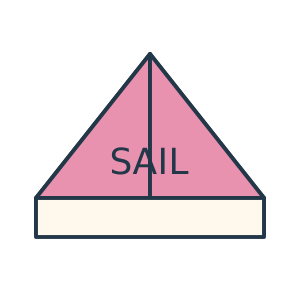
Finished Sailor Hat origami

One fold at a time

Read each caption before folding. Dashed lines mark creases. The last picture shows a suggested decoration.

STEP 1
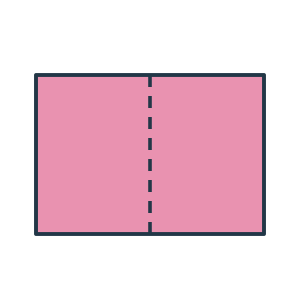
Step 1: Use a large rectangle, such as newspaper. Fold it in half top to bottom.
Use a large rectangle, such as newspaper. Fold it in half top to bottom.
STEP 2
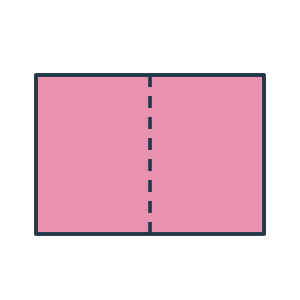
Step 2: Fold the doubled rectangle left to right, then unfold to mark the centre.
Fold the doubled rectangle left to right, then unfold to mark the centre.
STEP 3
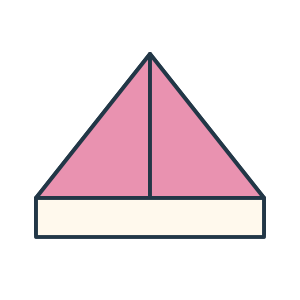
Step 3: With the closed edge at the top, fold both top corners to the centre.
With the closed edge at the top, fold both top corners to the centre.
STEP 4
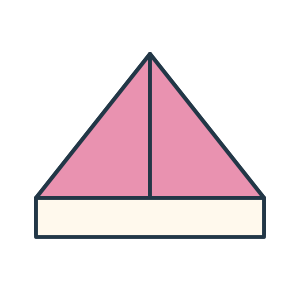
Step 4: Fold the front loose bottom strip upward along the triangle base.
Fold the front loose bottom strip upward along the triangle base.
STEP 5
Step 5: Turn over. Fold the other bottom strip up. Tuck projecting corners around.
Turn over. Fold the other bottom strip up. Tuck projecting corners around.
STEP 6
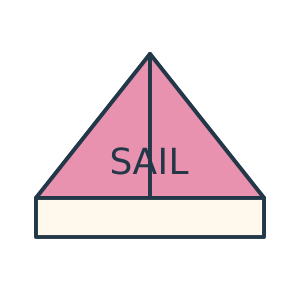
Step 6: Open the bottom gently. Decorate the front; size depends on your paper.
Open the bottom gently. Decorate the front; size depends on your paper.
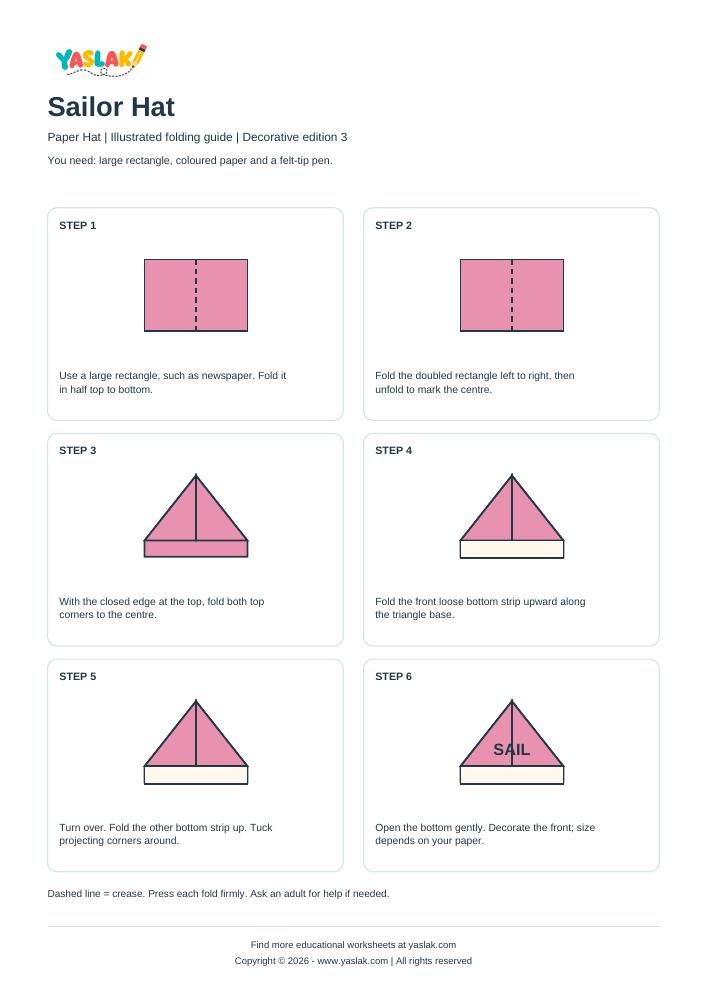
Sailor Hat Origami printable worksheet with YASLAK logo and copyright
READY TO FOLD?

Keep the folding guide beside you.

Your free A4 PDF includes six illustrated stages, paper requirements and a colour decoration idea. Print the guide on A4 and use a separate sheet for folding. The YASLAK logo is at the top left and the copyright is at the bottom.

Download free PDF ↓

1 page · A4 · 89 KB · No account needed

Scroll to Top