
FOLD. CREATE. MAKE IT YOURS.
Sky Glider Origami, step by step
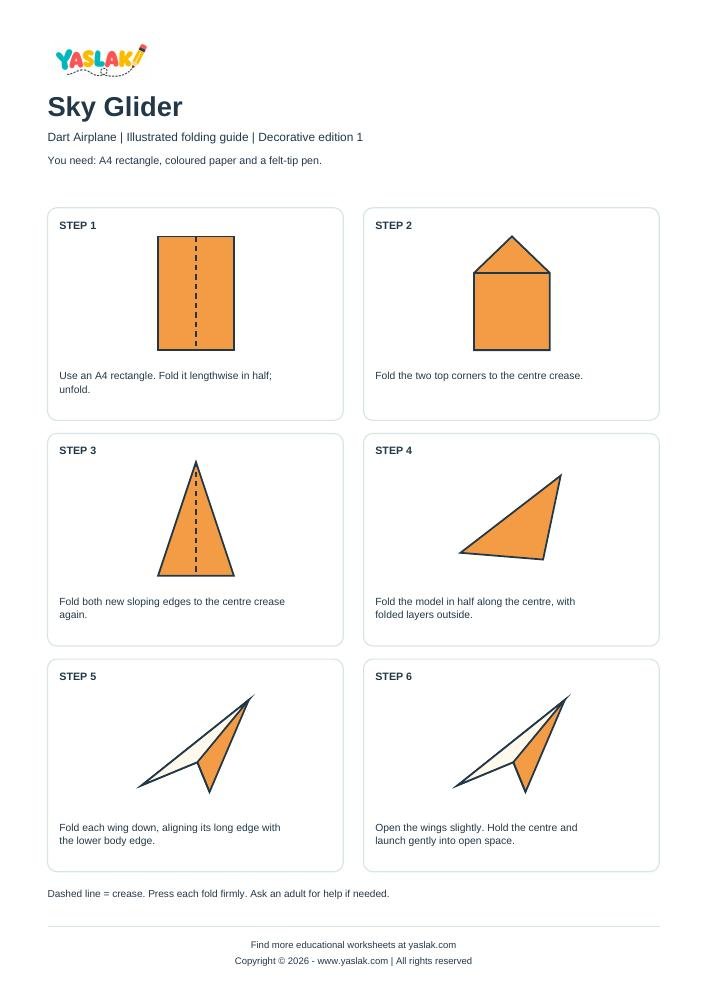
Follow the six illustrated stages below. Prepare your paper, crease each fold firmly, then add the decorative details.
6 simple stepsFree PDF downloadsColour illustrations

One fold at a time
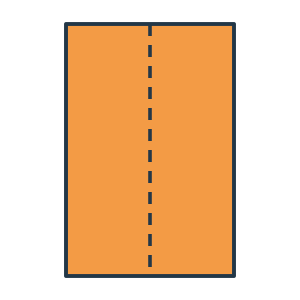
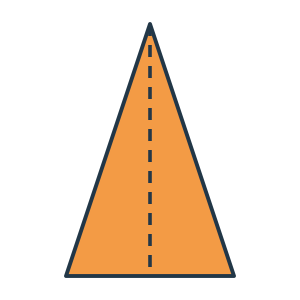
Read each caption before folding. Dashed lines mark creases. The last picture shows a suggested decoration.
STEP 1
STEP 2

STEP 3
STEP 4

STEP 5

STEP 6

READY TO FOLD?
Keep the folding guide beside you.
Your free A4 PDF includes six illustrated stages, paper requirements and a colour decoration idea. Print the guide on A4 and use a separate sheet for folding. The YASLAK logo is at the top left and the copyright is at the bottom.
Download free PDF ↓1 page · A4 · 89 KB · No account needed
Find more educational worksheets at yaslak.com
Copyright © 2026 - www.yaslak.com | All rights reserved